DIY: Linen Matching Set

Here are a few things I am very passionate about: matching sets, good quality linen, and pastel colors. Luckily, I also feel very strongly about DIY projects. Here is my most recent endeavor: I created a matching linen set for Connor while he was away. This is a challenge that eliminated the luxury of being able to constantly test pieces for size (perhaps this is my first step towards making clothes for people besides myself??) I love this set for its comfort and versatility, but also how this is yet another way you can save your pennies on an outfit that would otherwise be costly. Here we go!
The Tank Top:

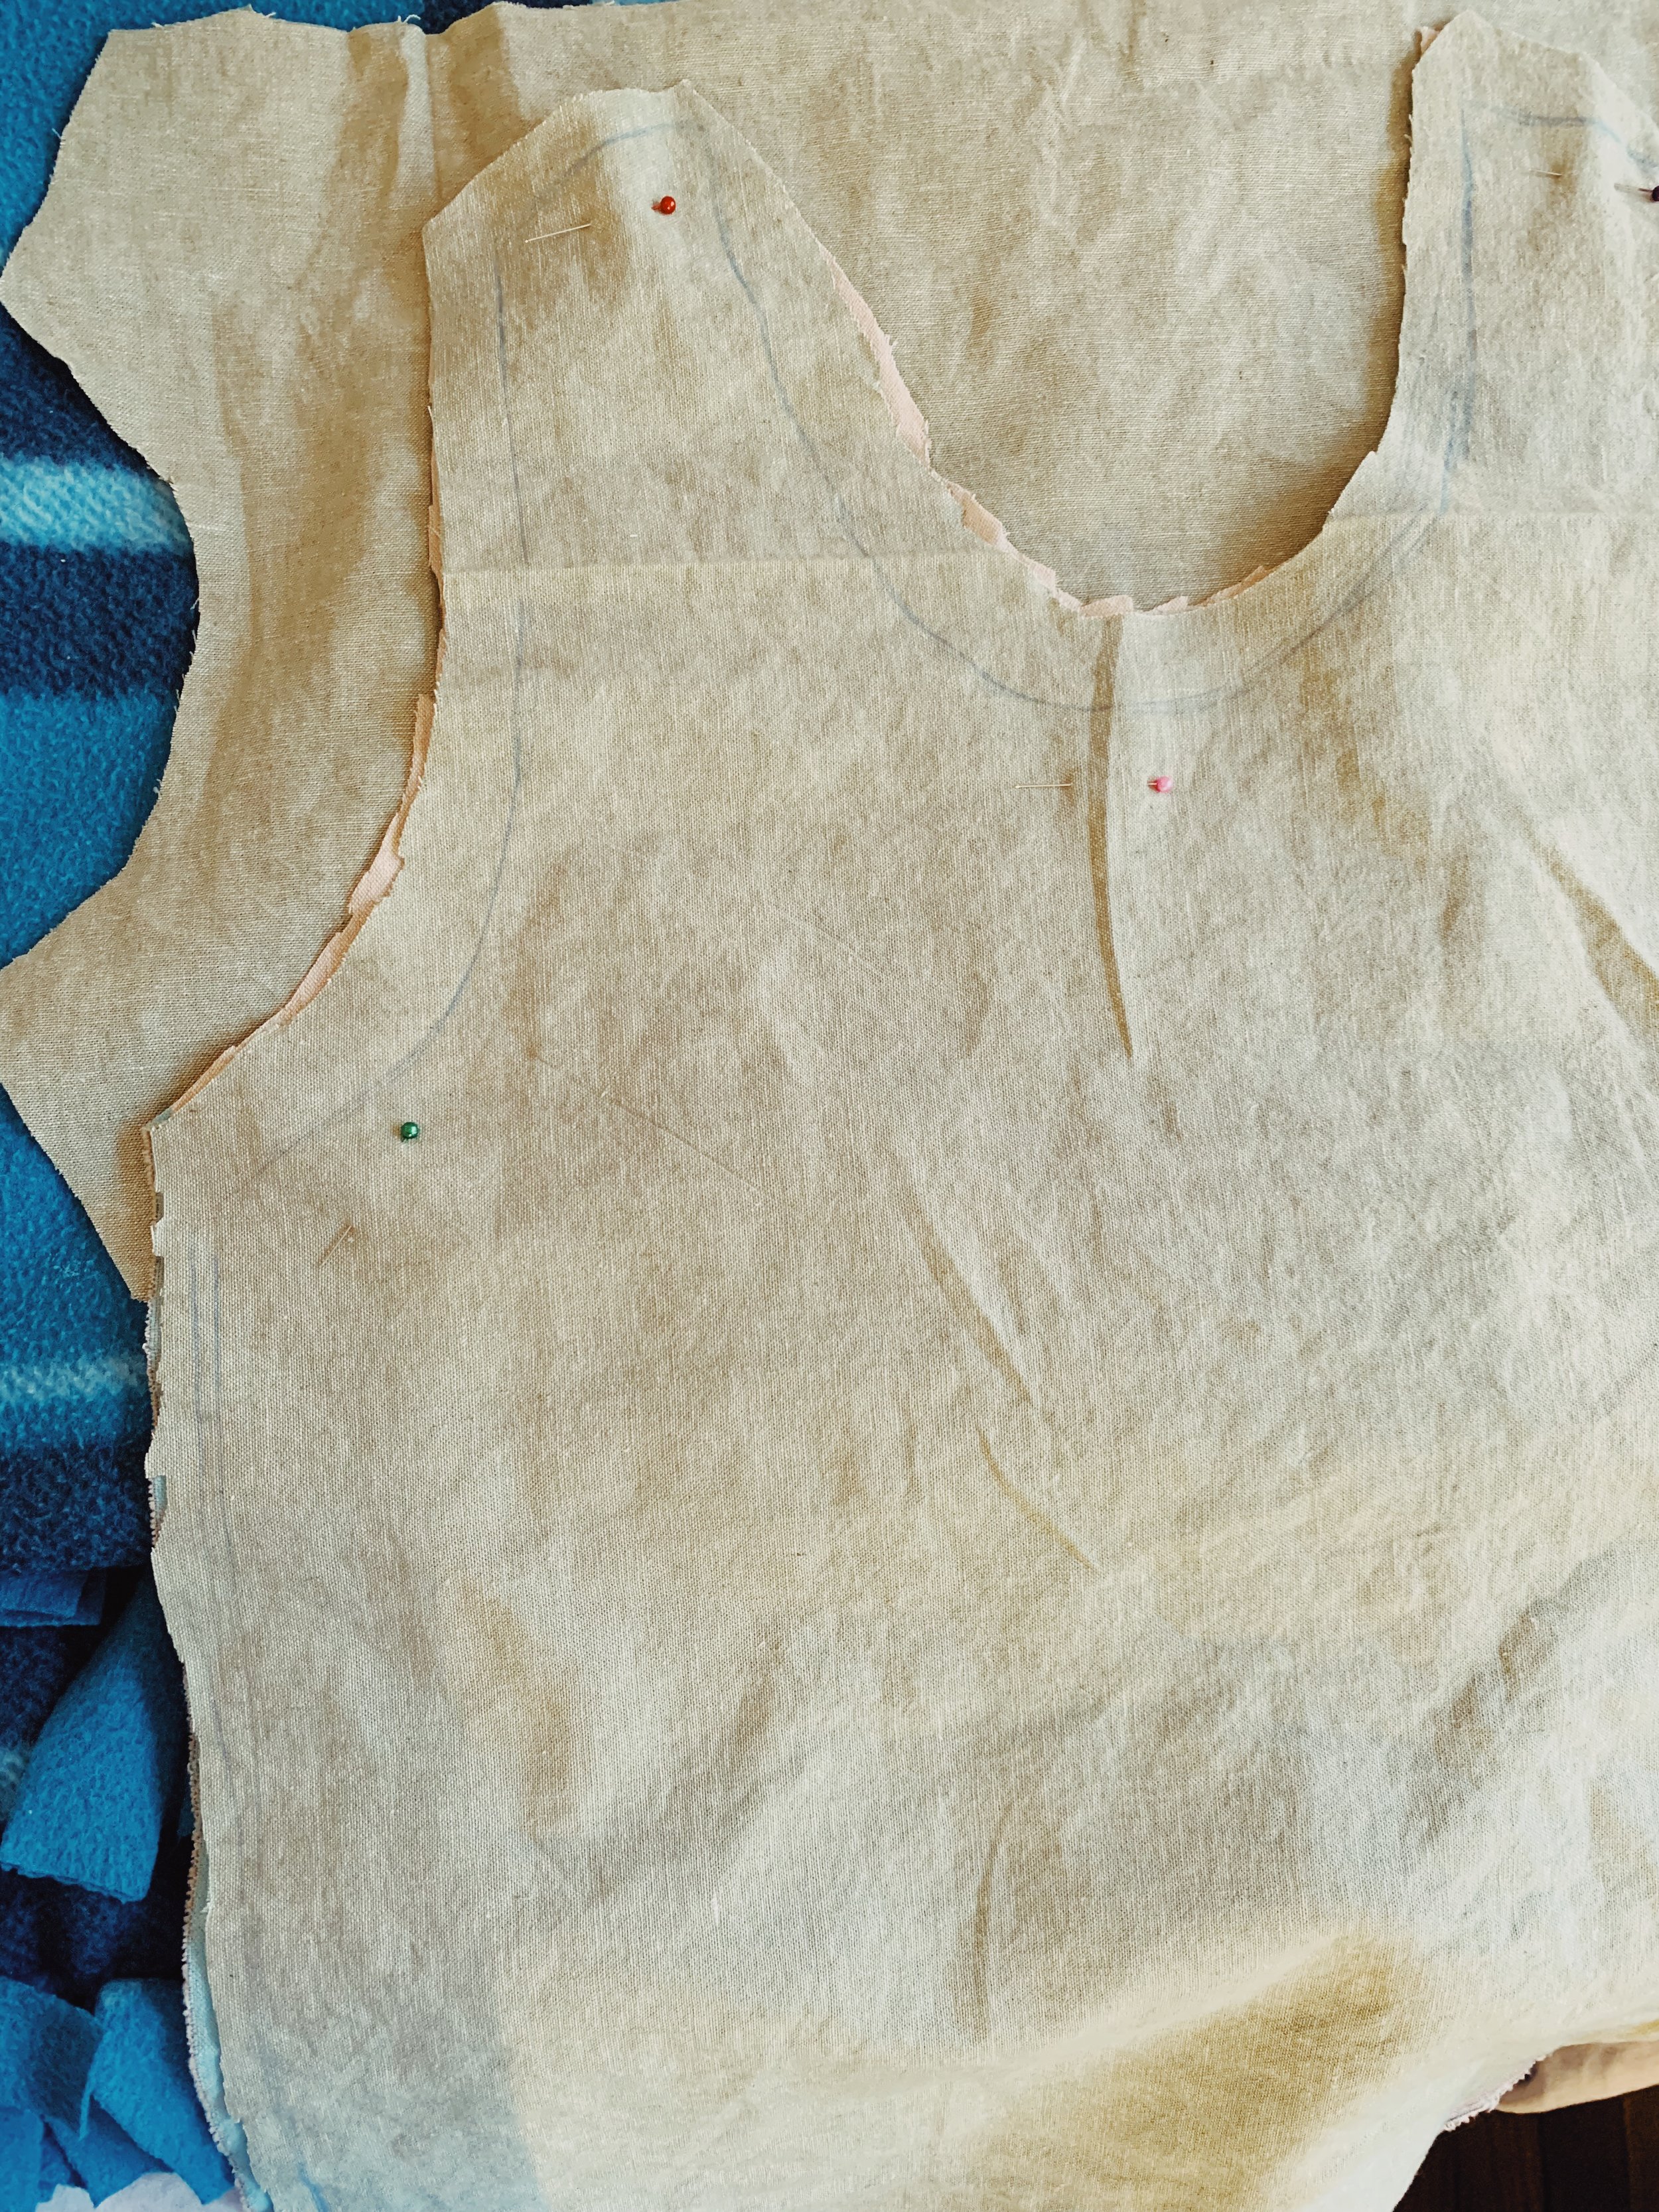
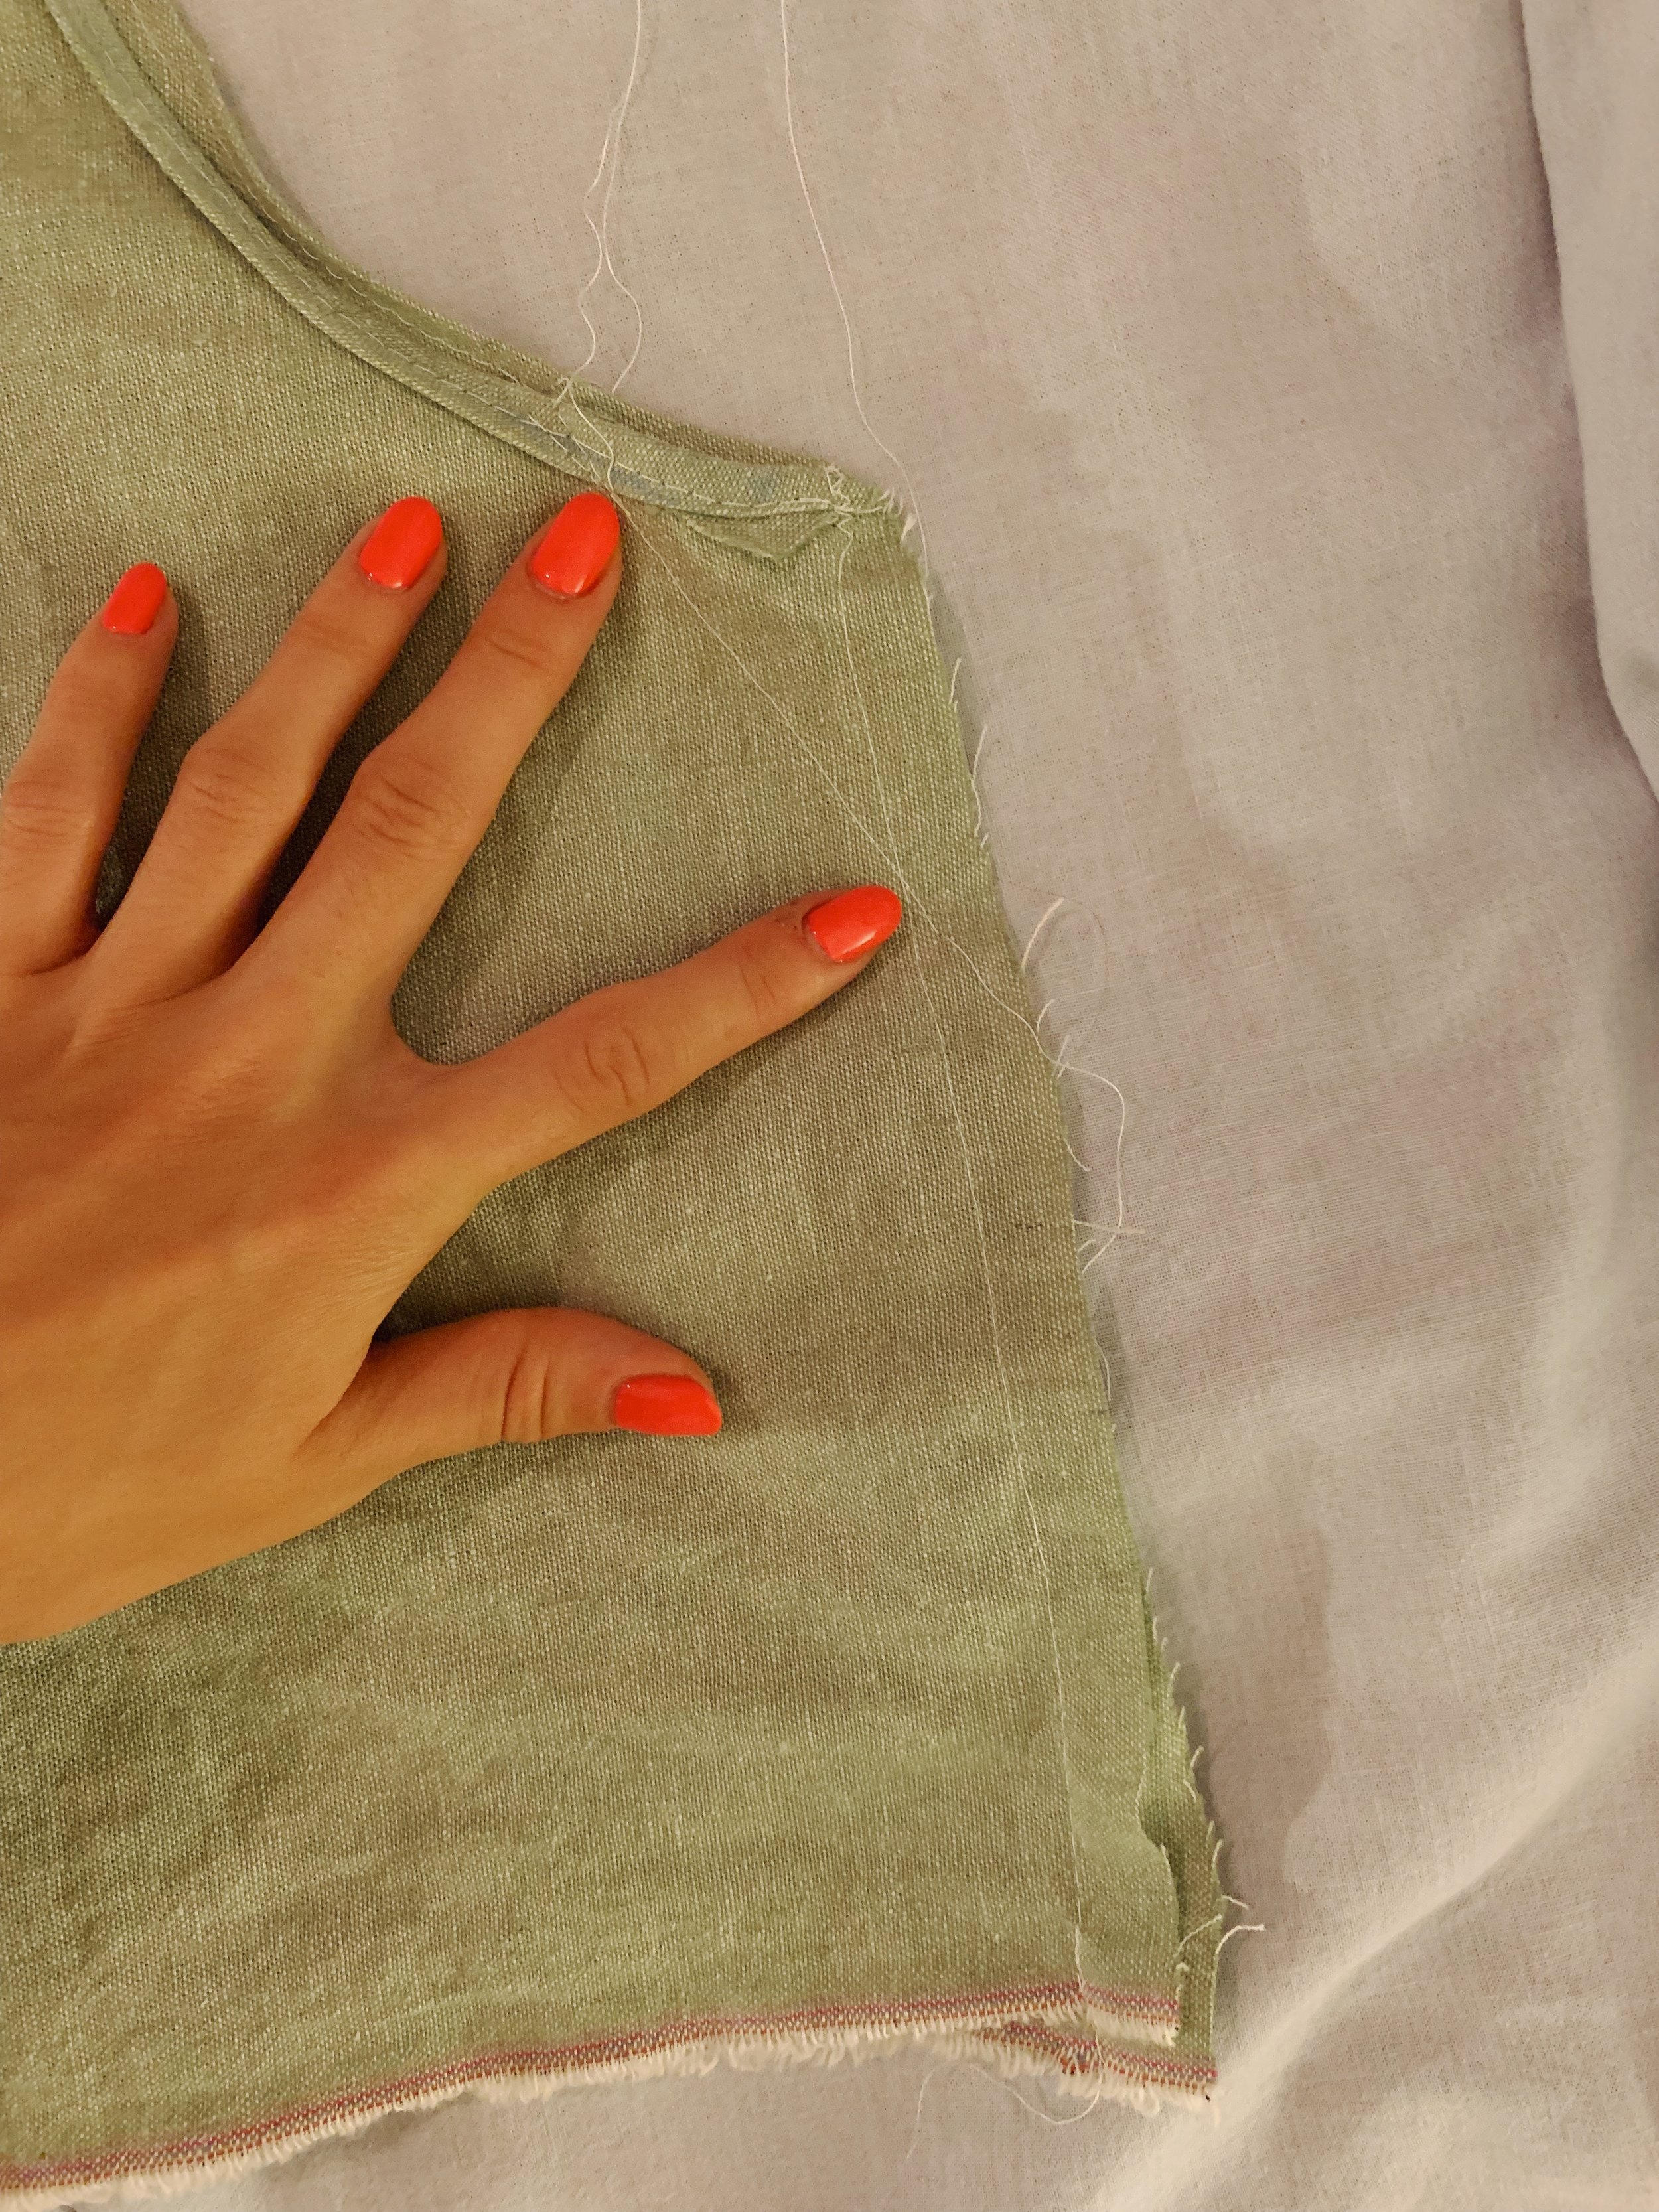
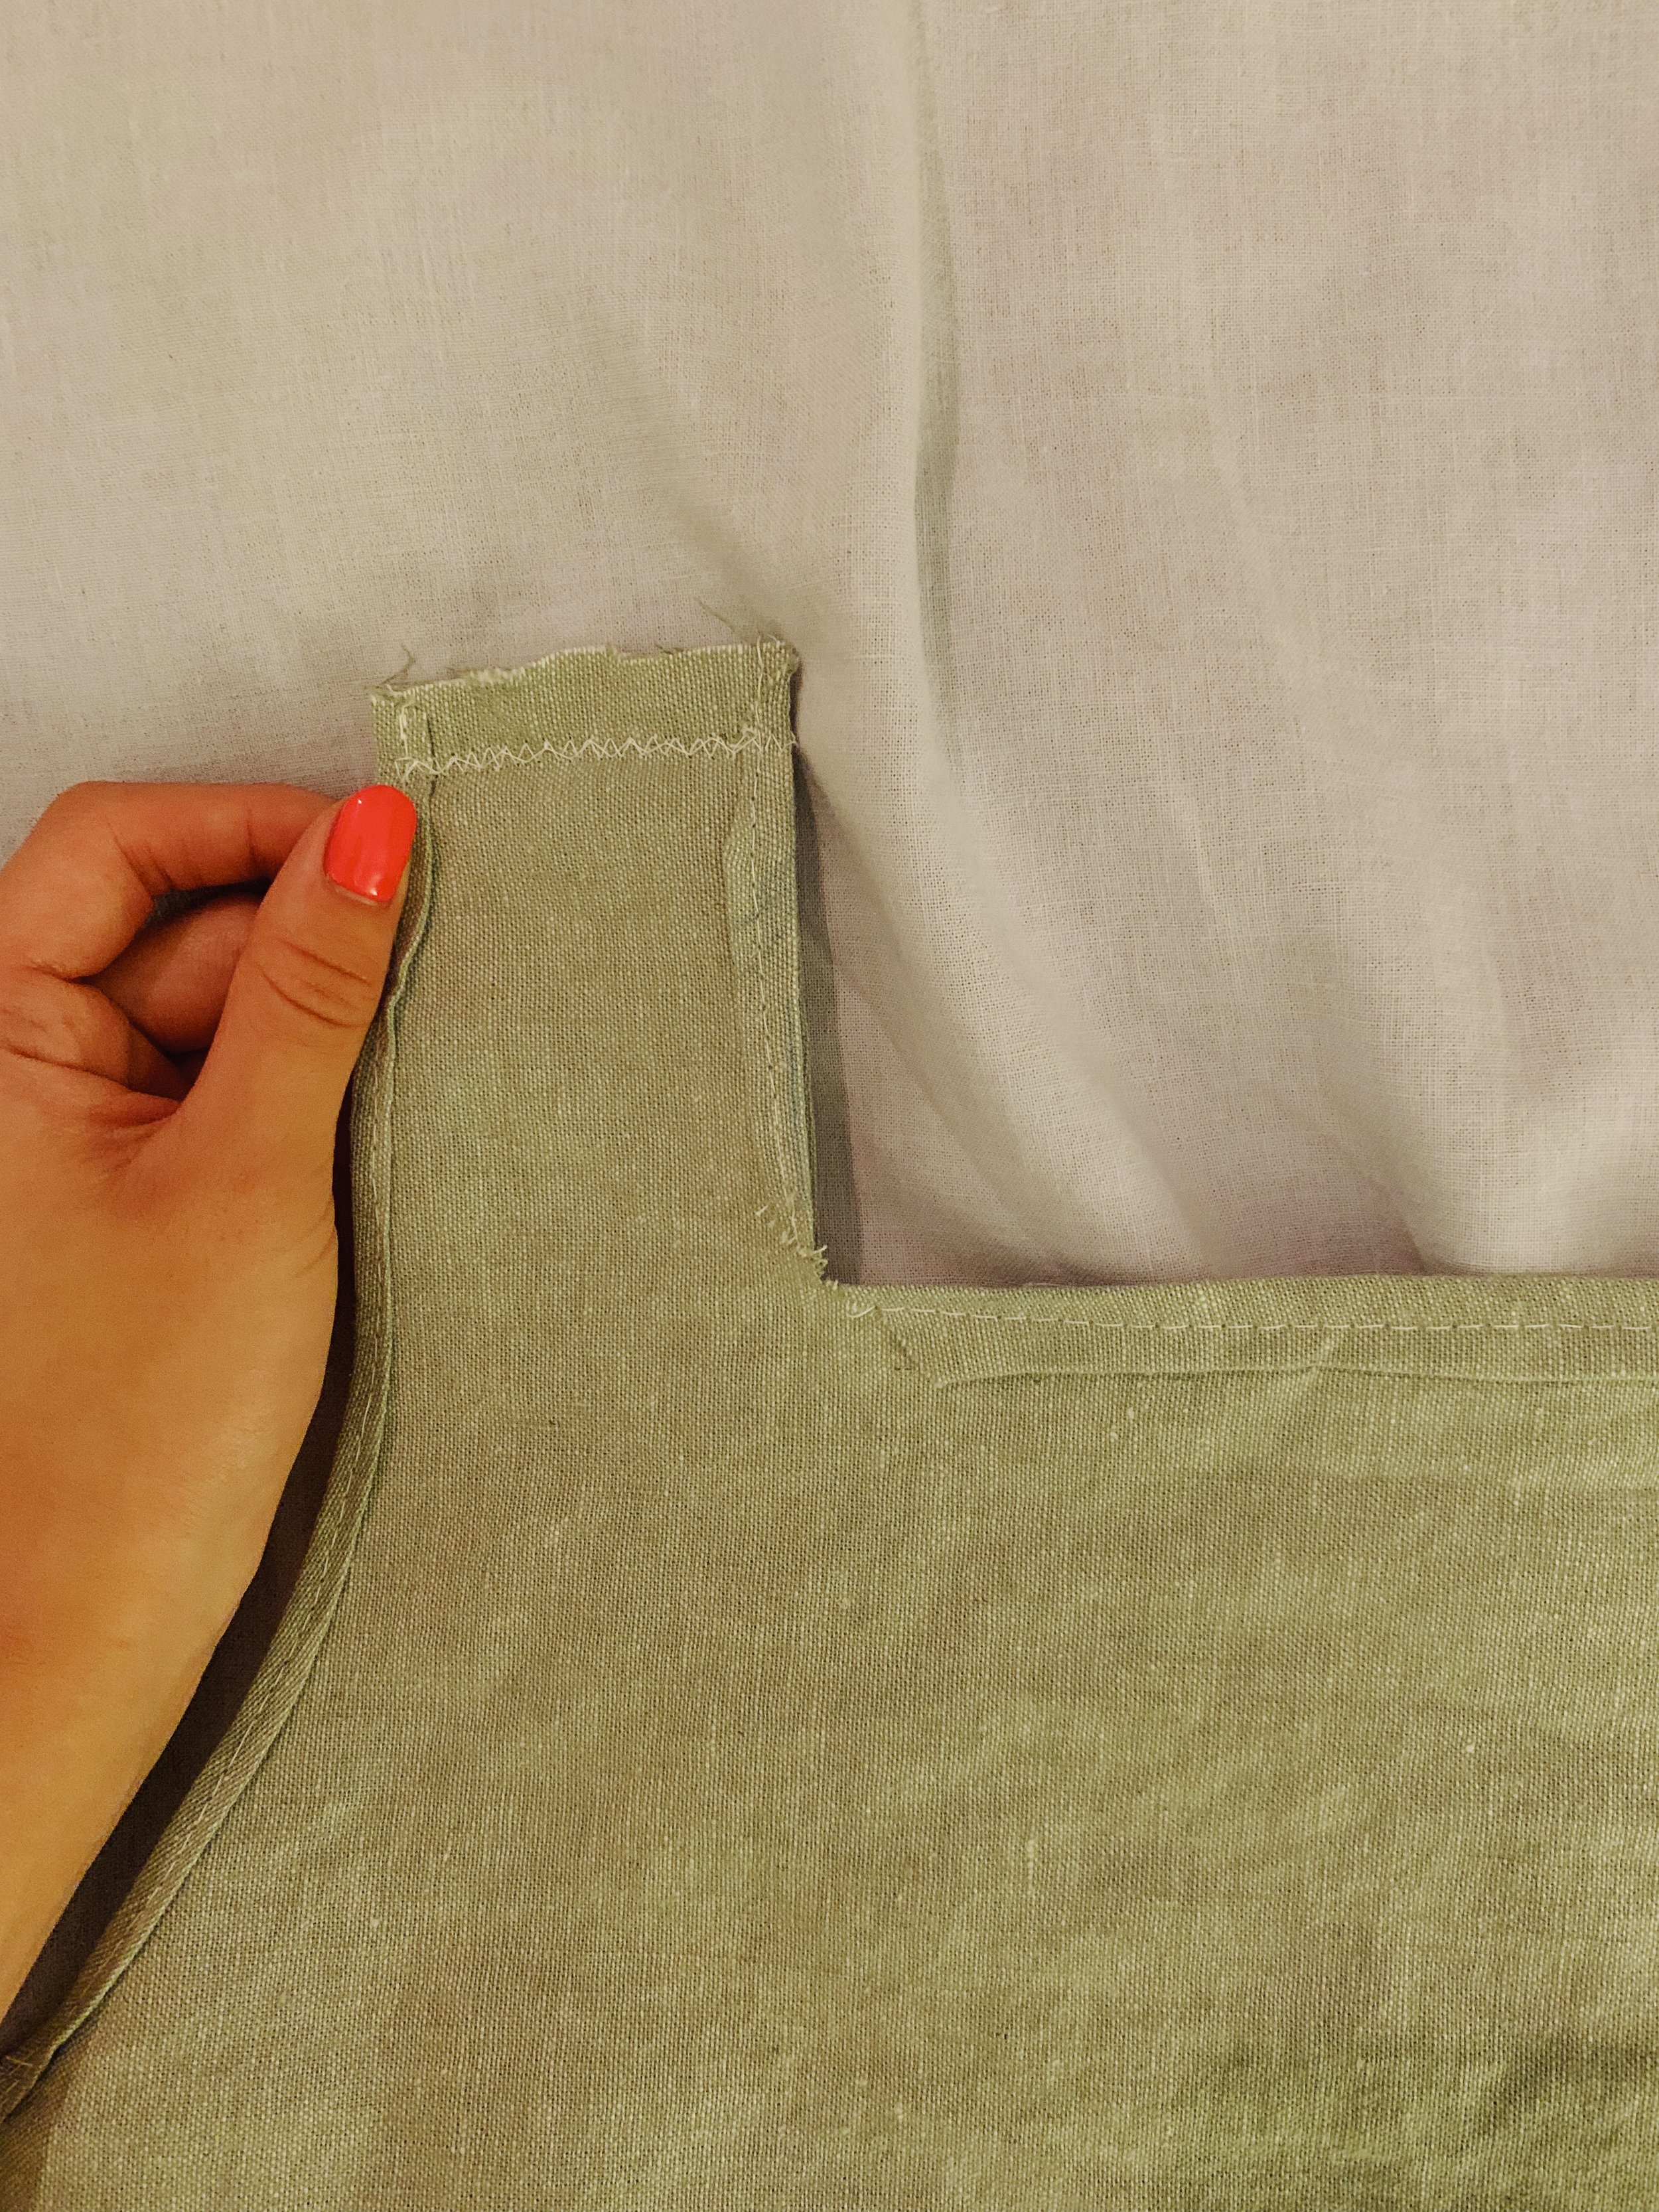
Creating the matching tops is very simple and exactly how you’d imagine. Most importantly, iron out the fabric after washing/preshrinking the fabric. Using tank tops for reference of panel size, I used a washable fabric pencil to trace out the shape and pinned them together. Then, I hemmed all the edges that would not be joined (bottom, collar, arm holes). I made sure that all of the hems facing towards the “inside of the shirt”. Using a zig zag stitch, I connected the sides and the tops of the tank top. Flip the shirt inside out and you have a tank top! I repeated this design for my own tank top, incorporating a square-boxy shape.
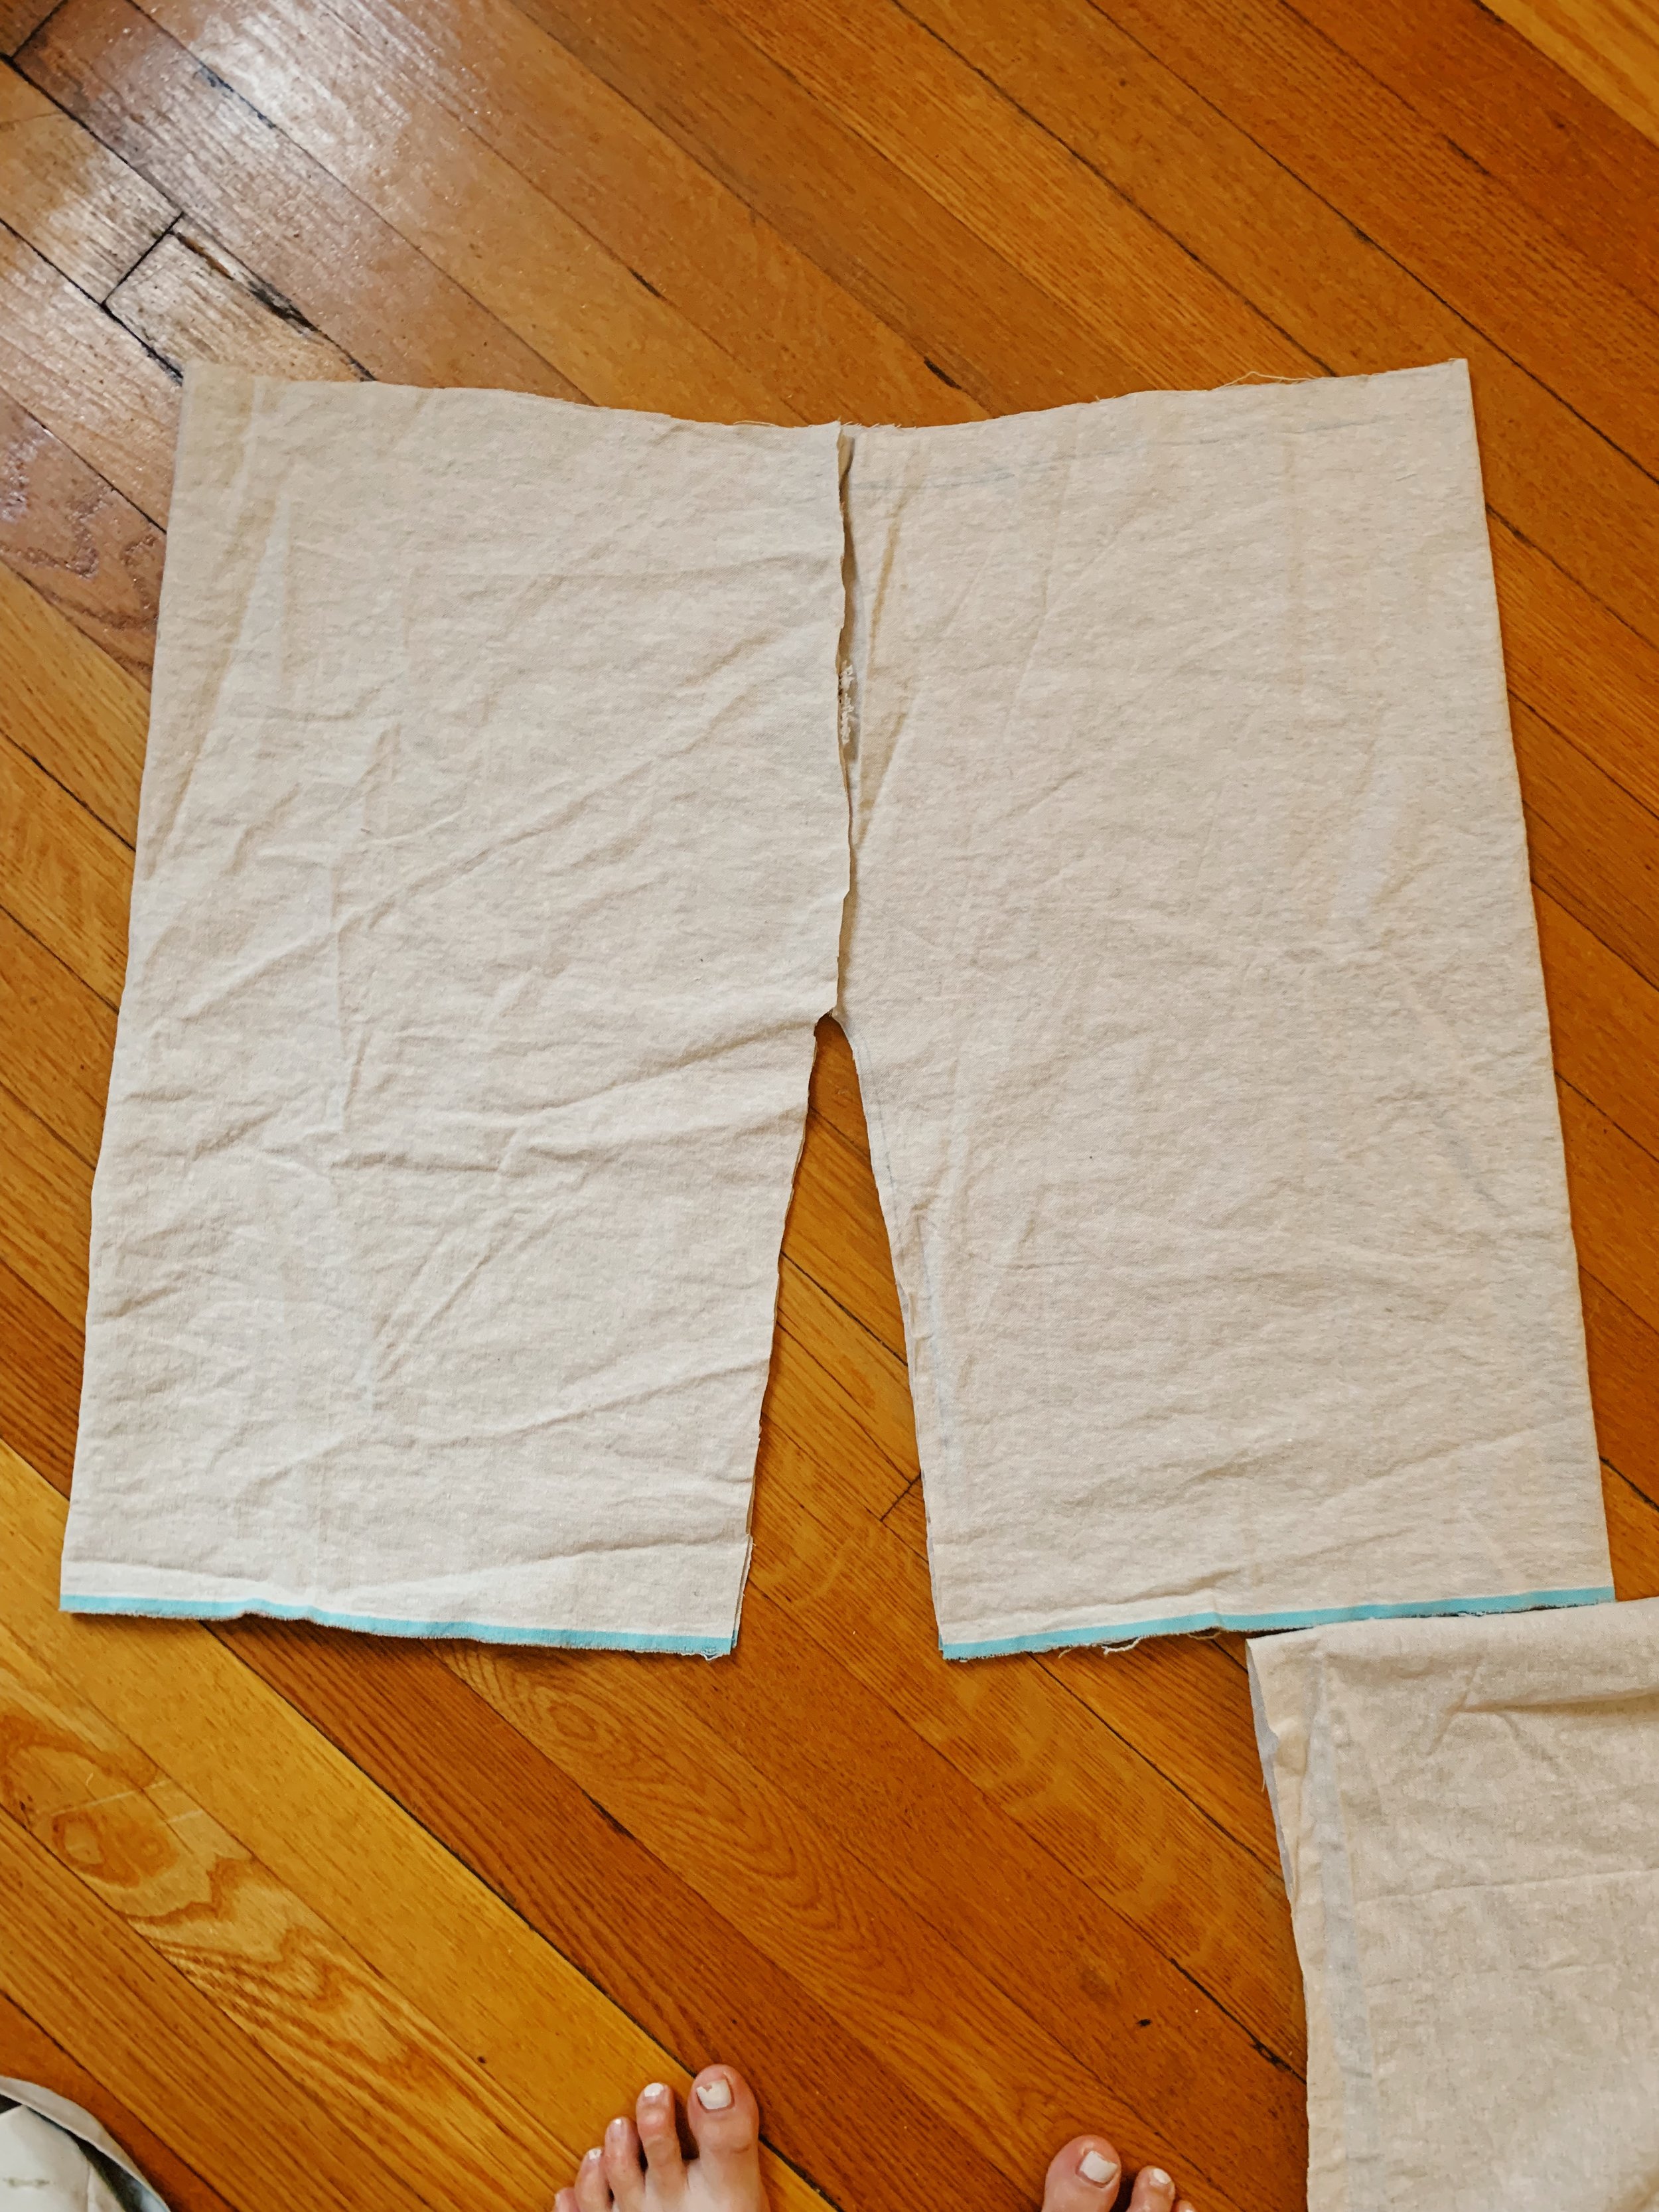
The Shorts:
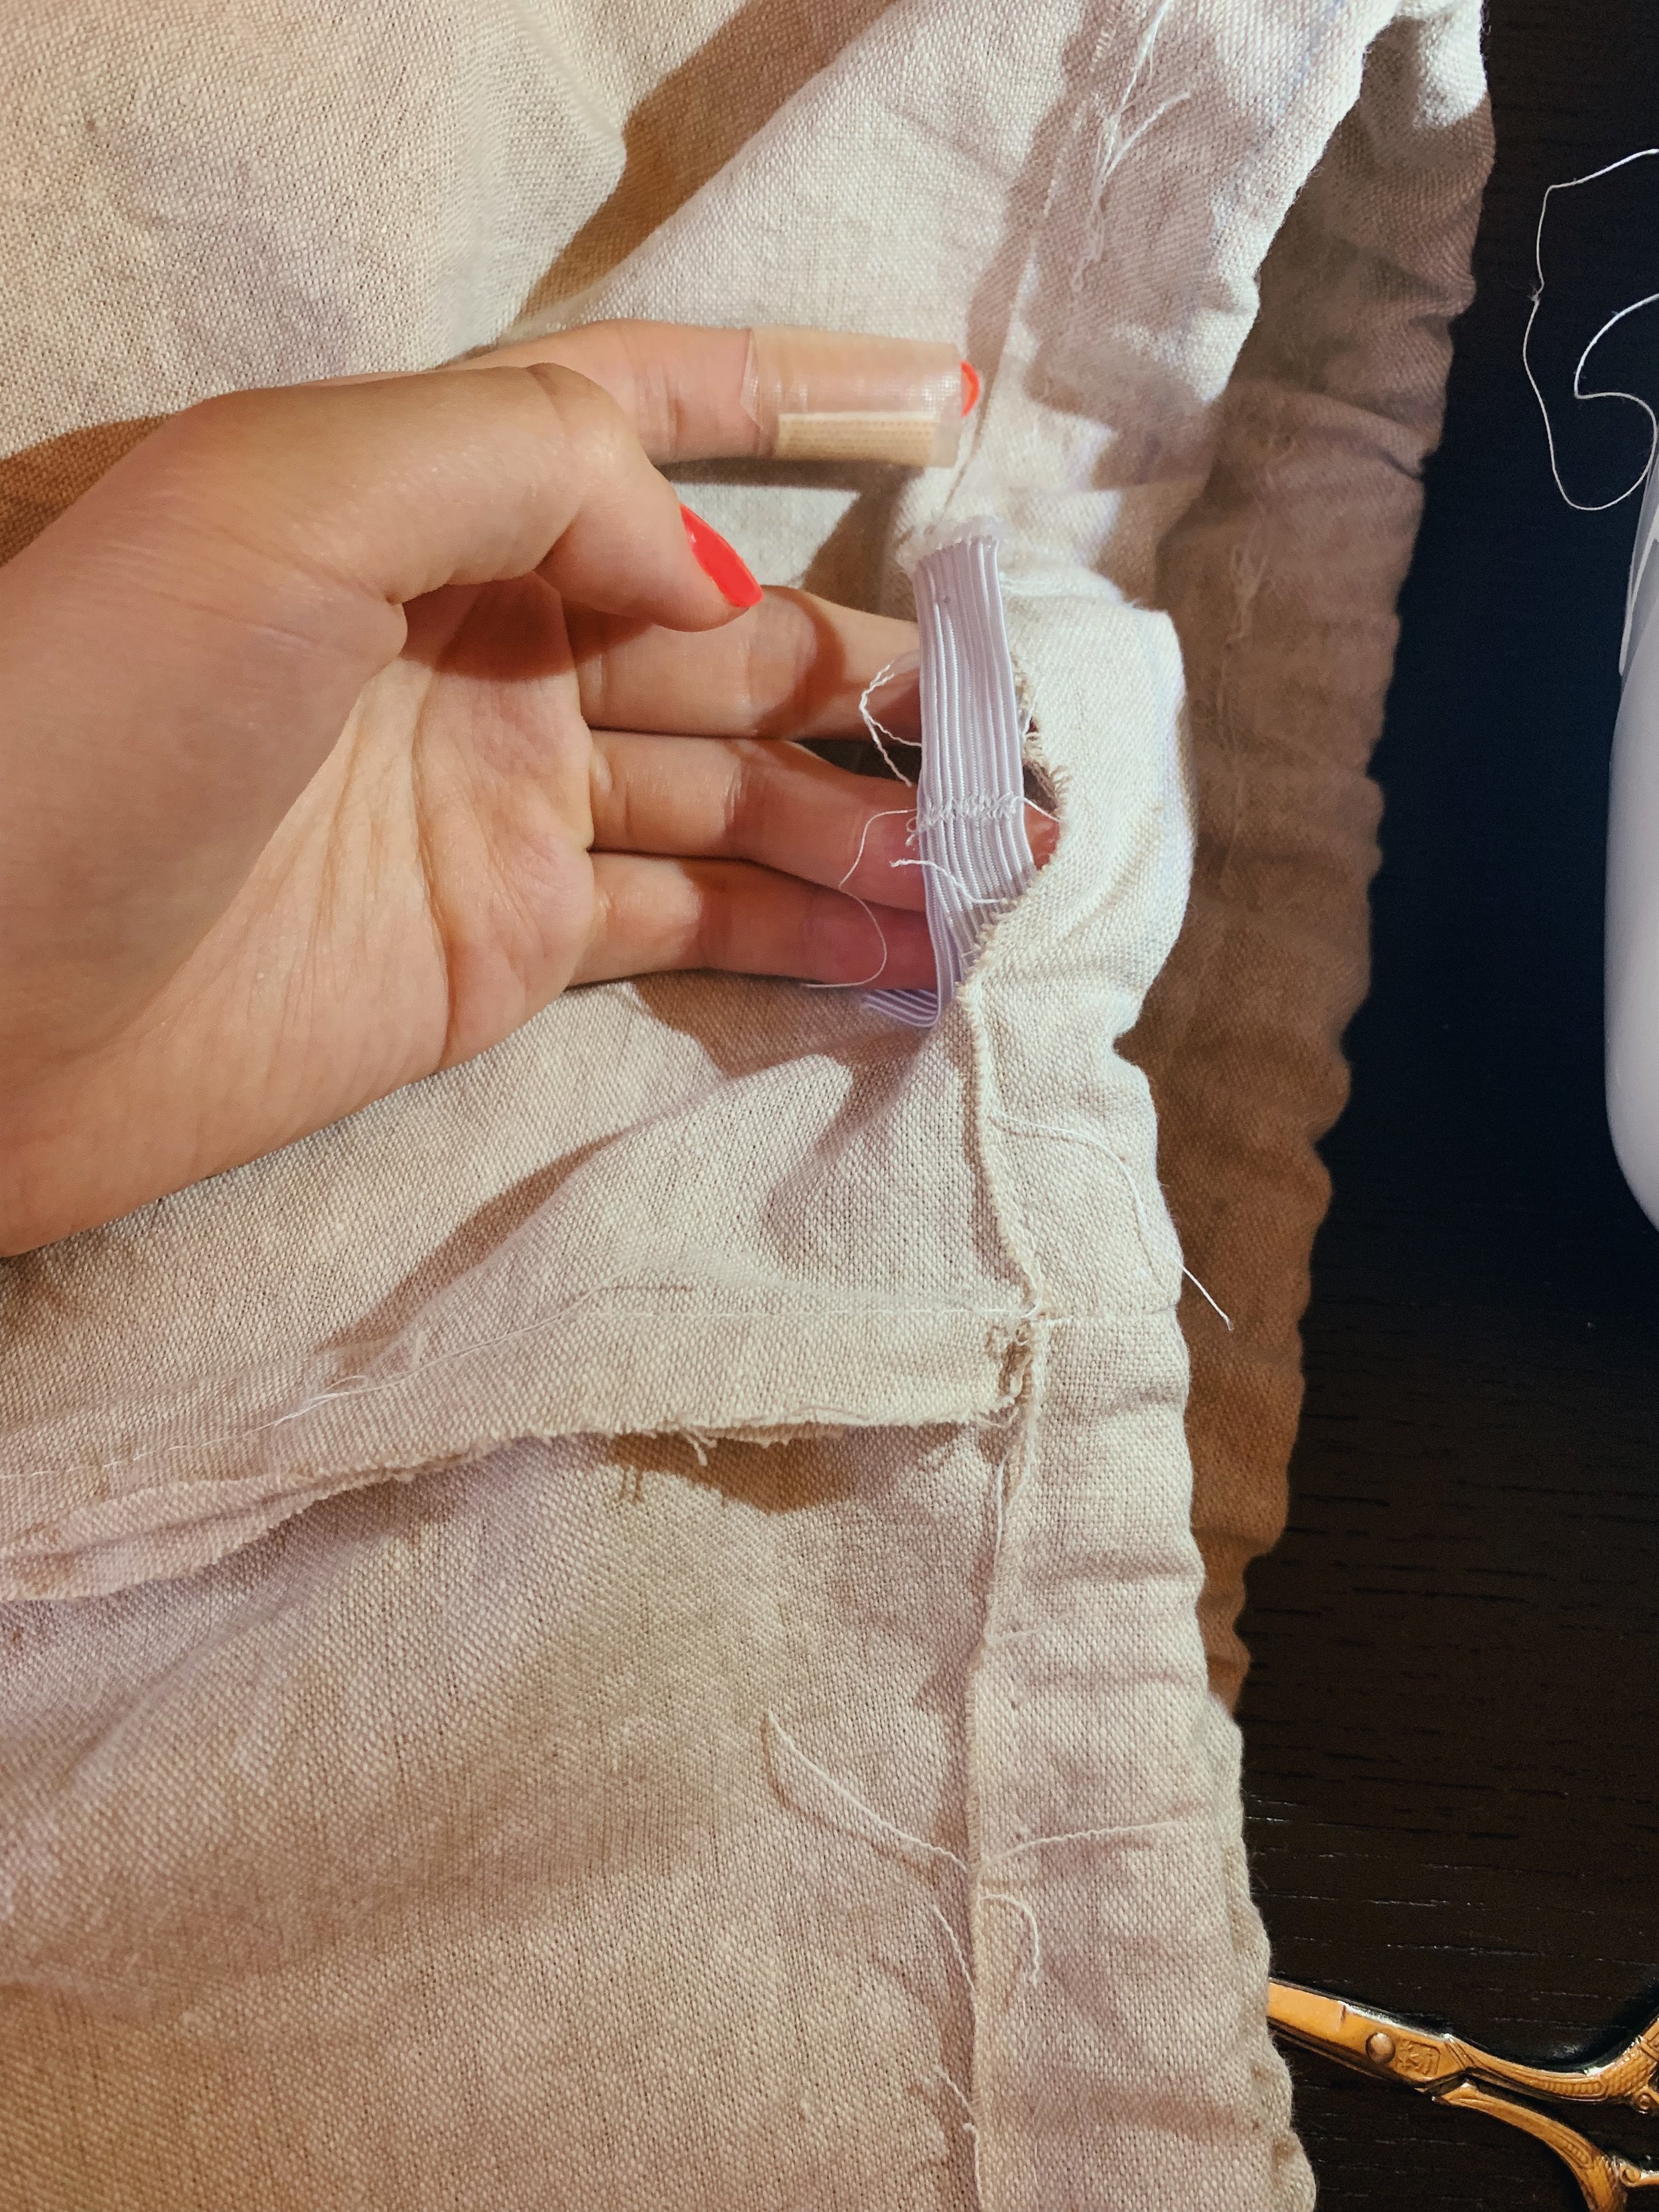
For the shorts, I referenced a pair of well fitted dress pants for waist size and gym shorts for how much leg room I had to account for. Unlike the front and back panel for the tank, the two pieces I cut were left and right leg. I started by hemming the short line and then zig zag stitched the two legs individually, Once those were joined, I continued with a zig zag stitch to connect the two leg panels at the crotch. To create a waist line, I pinned the waist outward and measured an elastic waistband to a slightly tighter length than the exact waist line. I stitched the waistline together, leaving a small gap to push the elastic band through with a safety pin for guidance under both ends met where the waistline was exposed. A zig zag stitch was used to form the elastic band into one loop. Finally, I sealed the waistband and flipped the shorts inside out for the completed product. A huge tip is to allow for the crotch room to be a lot longer than you can visually tell from the panels referenced. We are three dimensional figures so you have to remember to account for the space your butt takes! For this reason, I had to keep ripping and resewing the crotch, so aim lower!
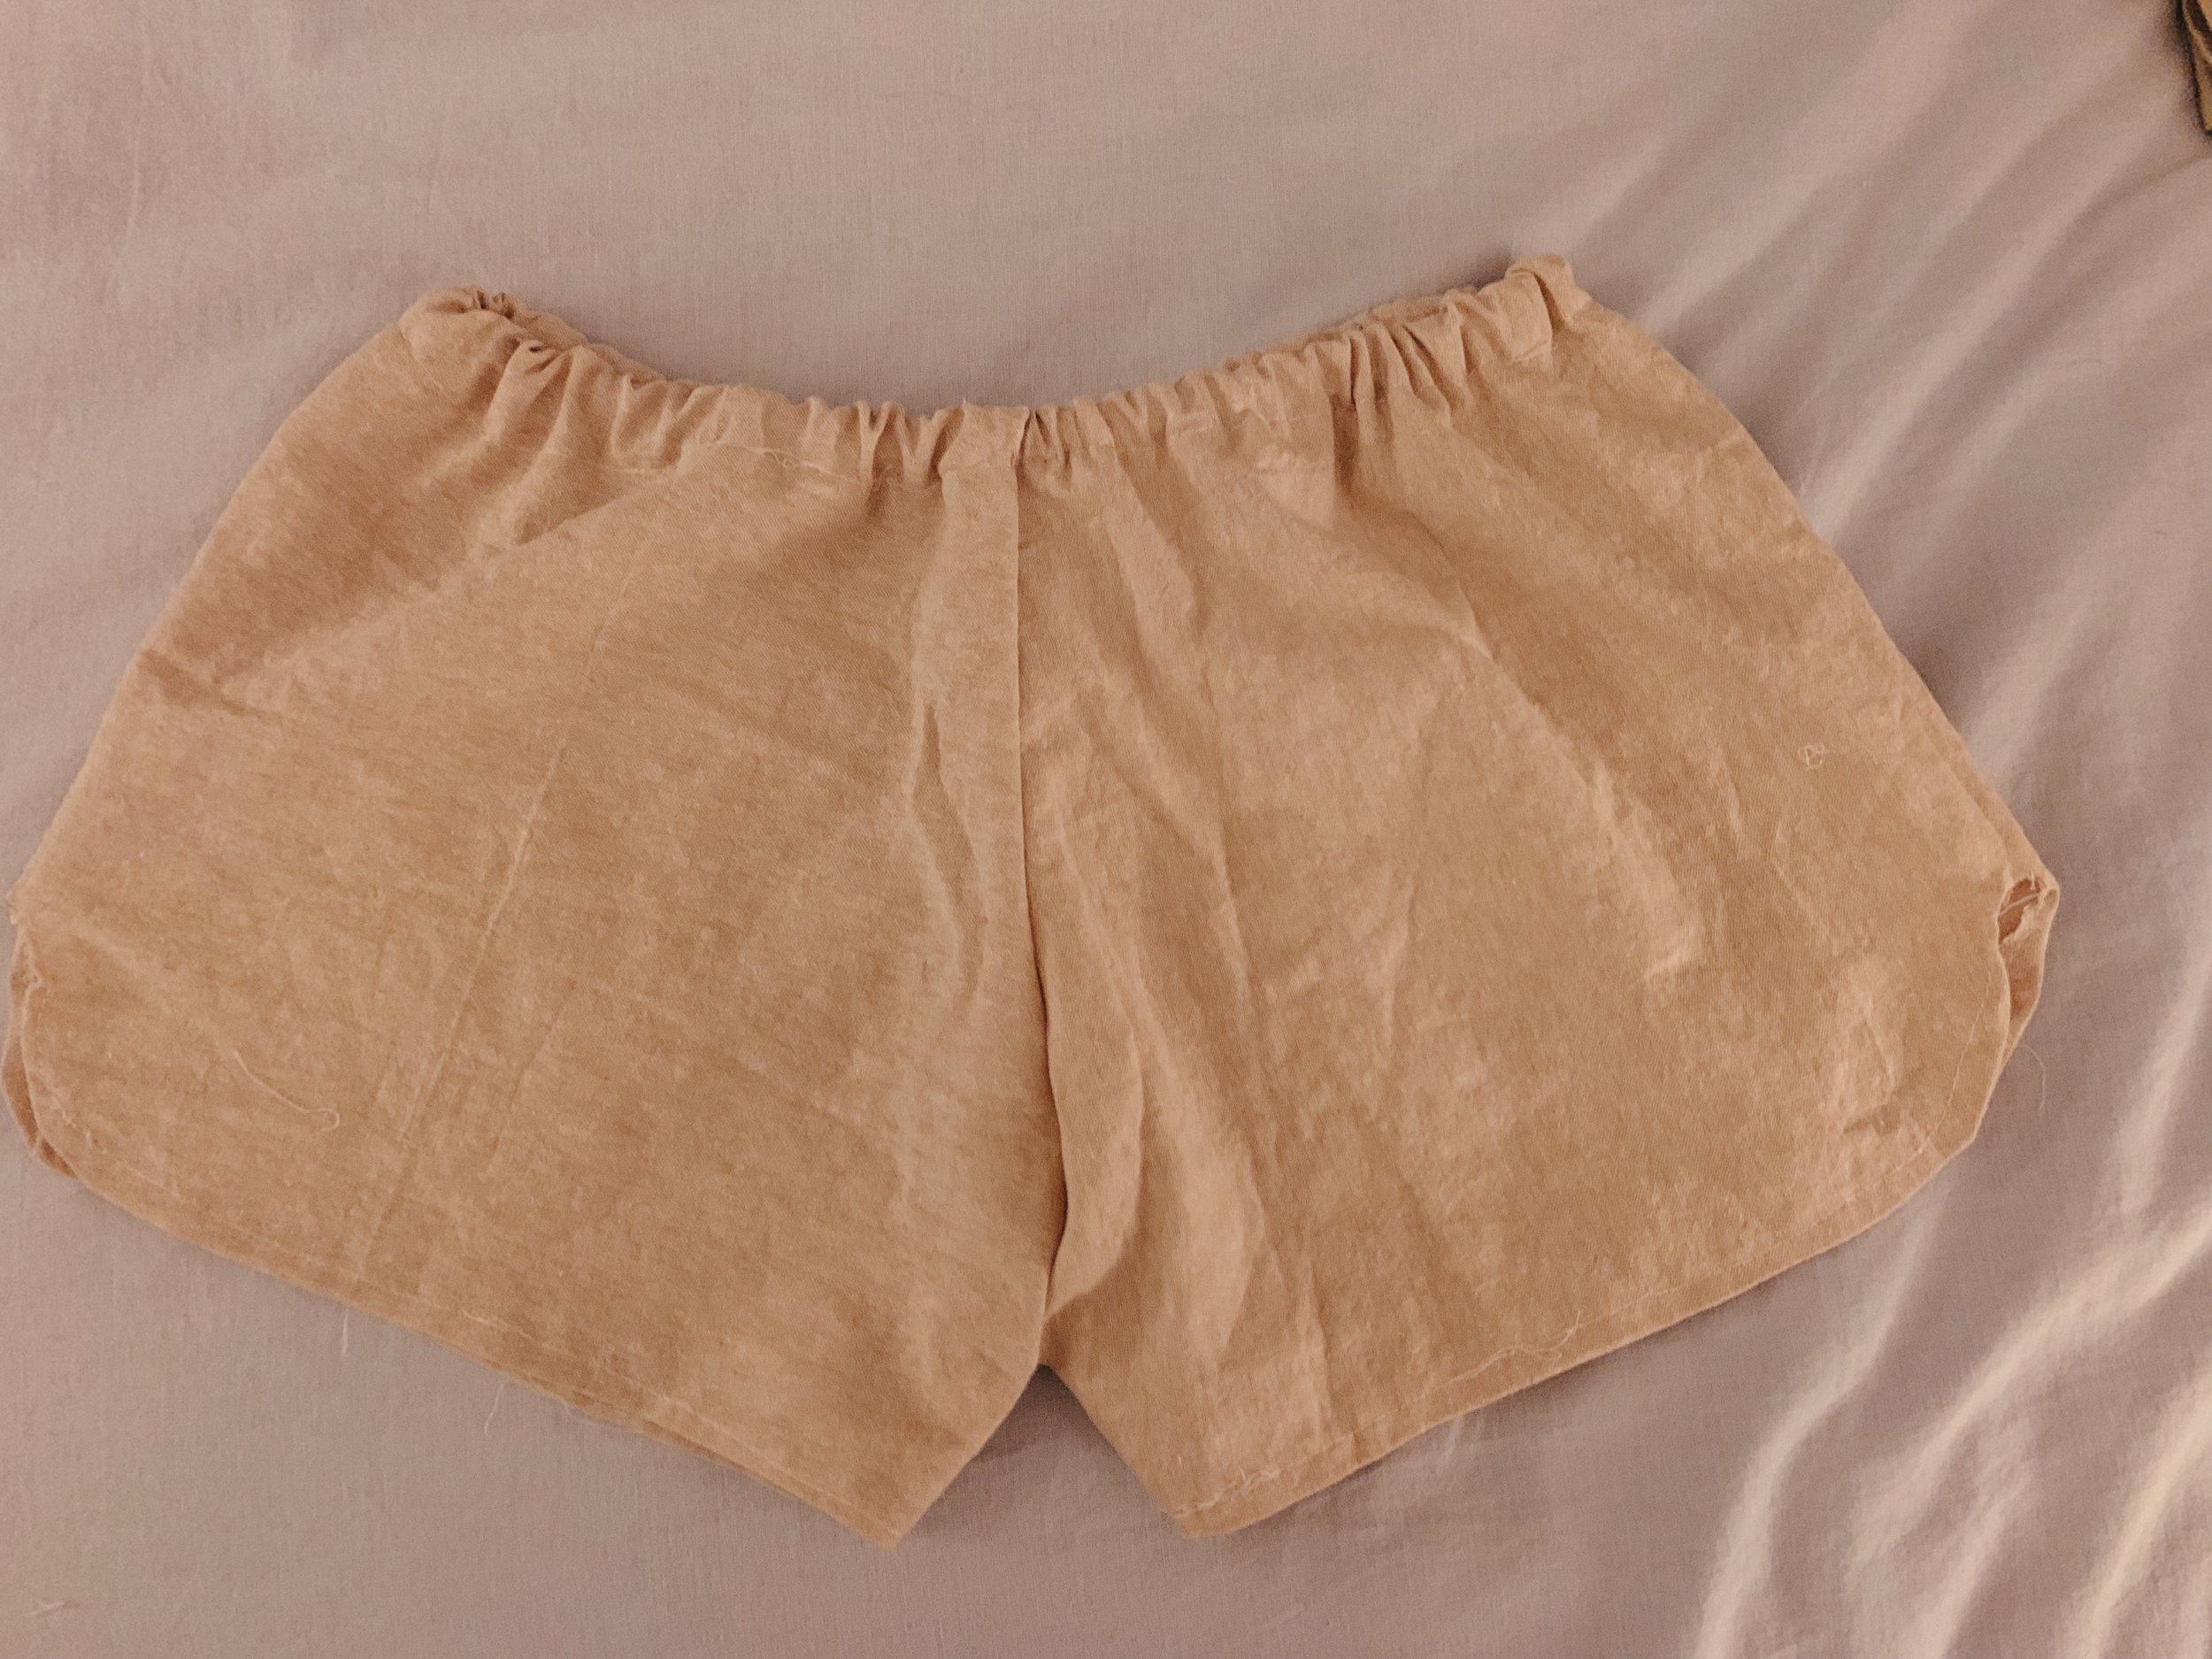
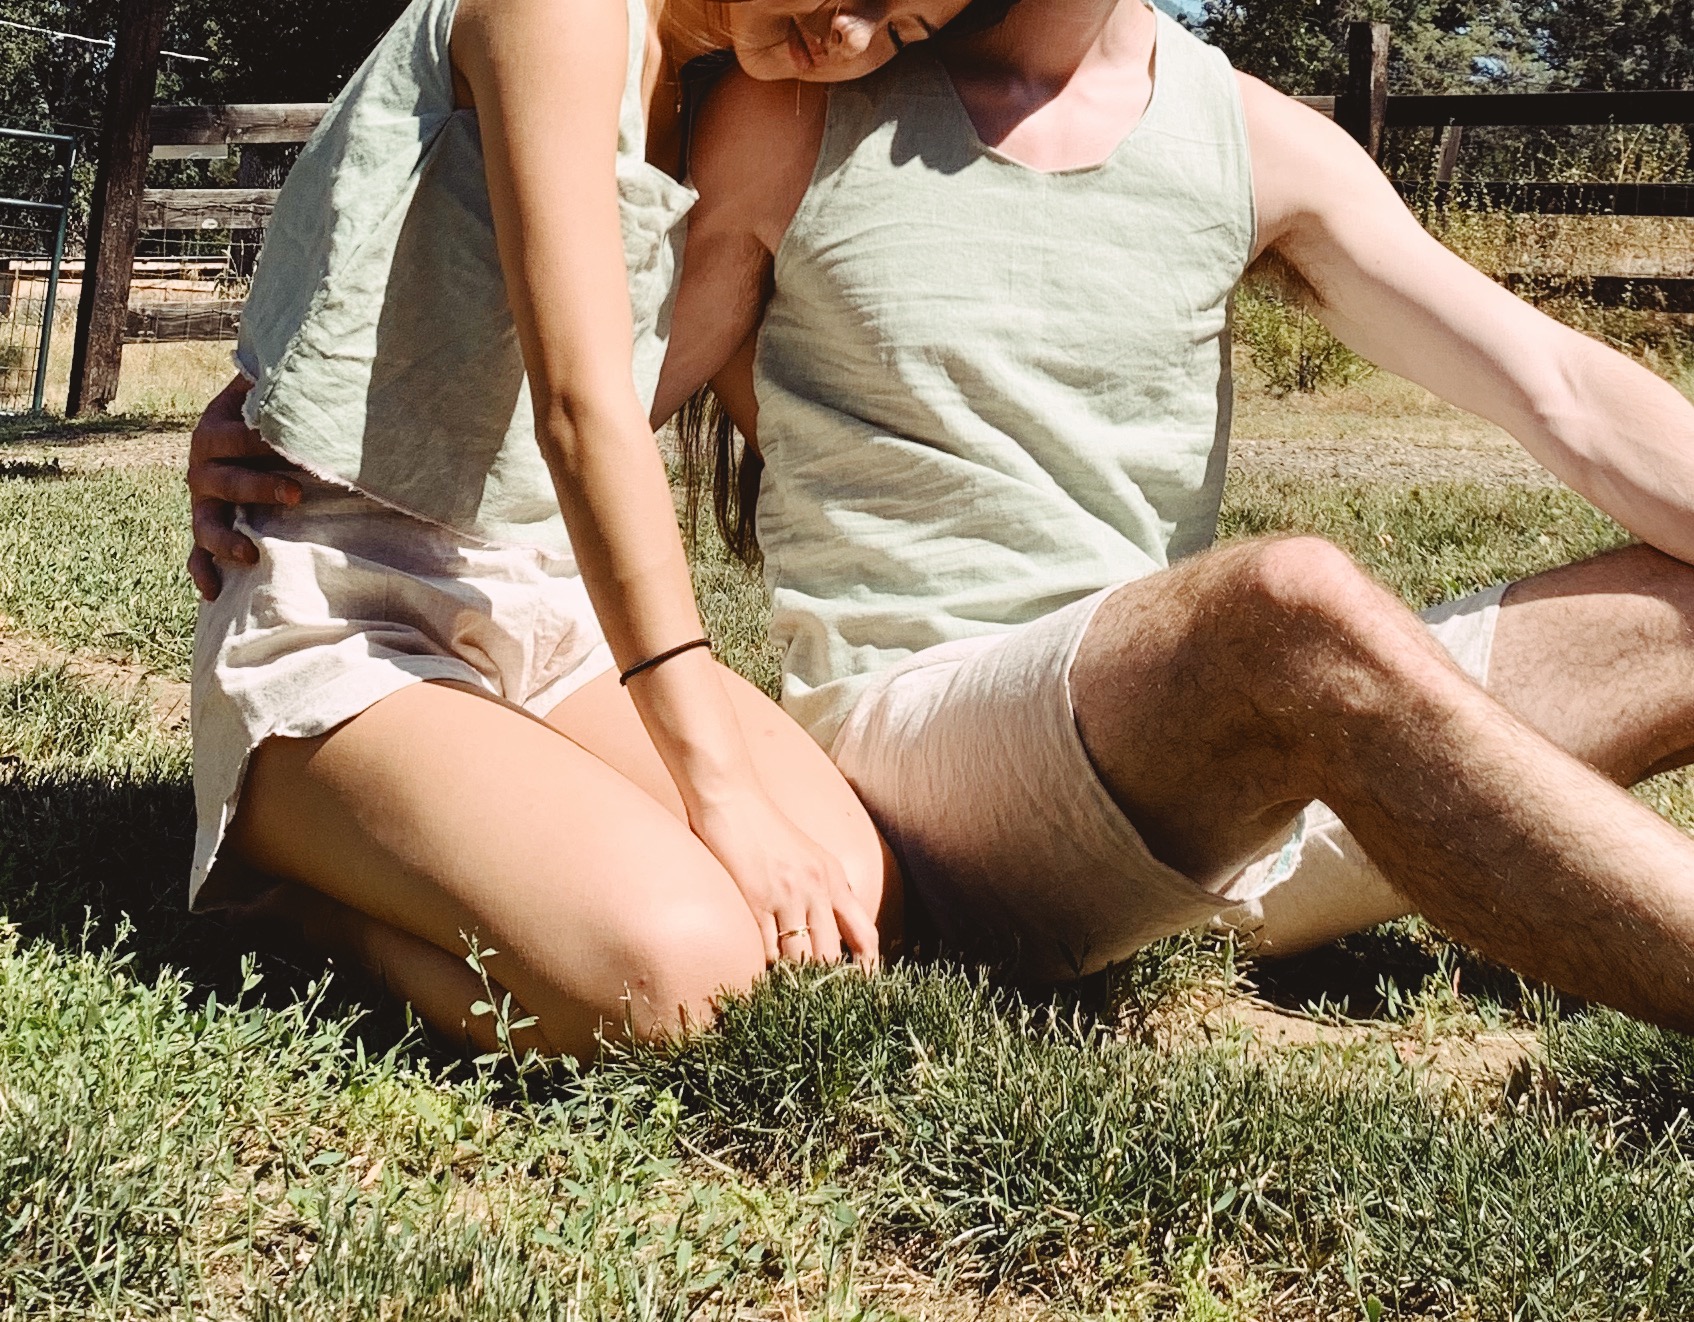
This set is perfect for running errands or lounging around, but proper enough to wear to a dinner date. I love the beachy vibe it exudes while still looking put together- and that’s exactly what our wardrobes need more of, right? There is nothing cooler than a custom ~homemade~ product that you can match with a loved one. This one is sure to impress.