
DIY: Bubble Candle
Exactly one week ago, I was bouncing back and forth on what color bubble candles I should buy each of my friends for Christmas when one of my coworkers said to me, “why don’t you just make them yourself?” And quite honestly, I have no idea why that thought hadn’t crossed my mind. Genius. Luckily, I already had 5 lbs of soy wax from my mussel candle centerpiece and only needed to buy a bubble candle mold. Here’s the perfect Christmas gift DIY for all your trendy gal pals.
You’ll need:
soy wax melts
candle wicks
a small pot for melting
gel food coloring (or candle color chips)
essential oil of choice (or go unscented!)
bubble candle mold (I got this one from Amazon)
In order to figure out how much wax melt is needed for each candle size, you may need to do some experimenting. Luckily, it’s more trial than error as I typically use the leftover wax in the pot to pour on top of the mold in case there are any imperfections that appeared during cooling.
Before melting, add the gel food coloring and do your best to mix it in. You may find that the gel food coloring will separate/appear as globs in the melted wax but if you mix/smush the coloring in well, you can reduce this likelihood. You’ll also find that the melted wax will be a lot more pigmented than the final opaque shade so keep that in mind. Finally, melt the wax in your pot, and be sure to add the essential oil during the melting process if you want a scent.
Allow the wax to cool at room temperature. Attempting to accelerate the process with a cracked window or refrigeration can cause cracks in the candle so have patience - definitely not something that I know from personal experience. If you do experience cracks, simply melt your remaining wax in the pot and pour over the top! You can also use a hairdryer to try to lightly melt and smooth out the top layer.
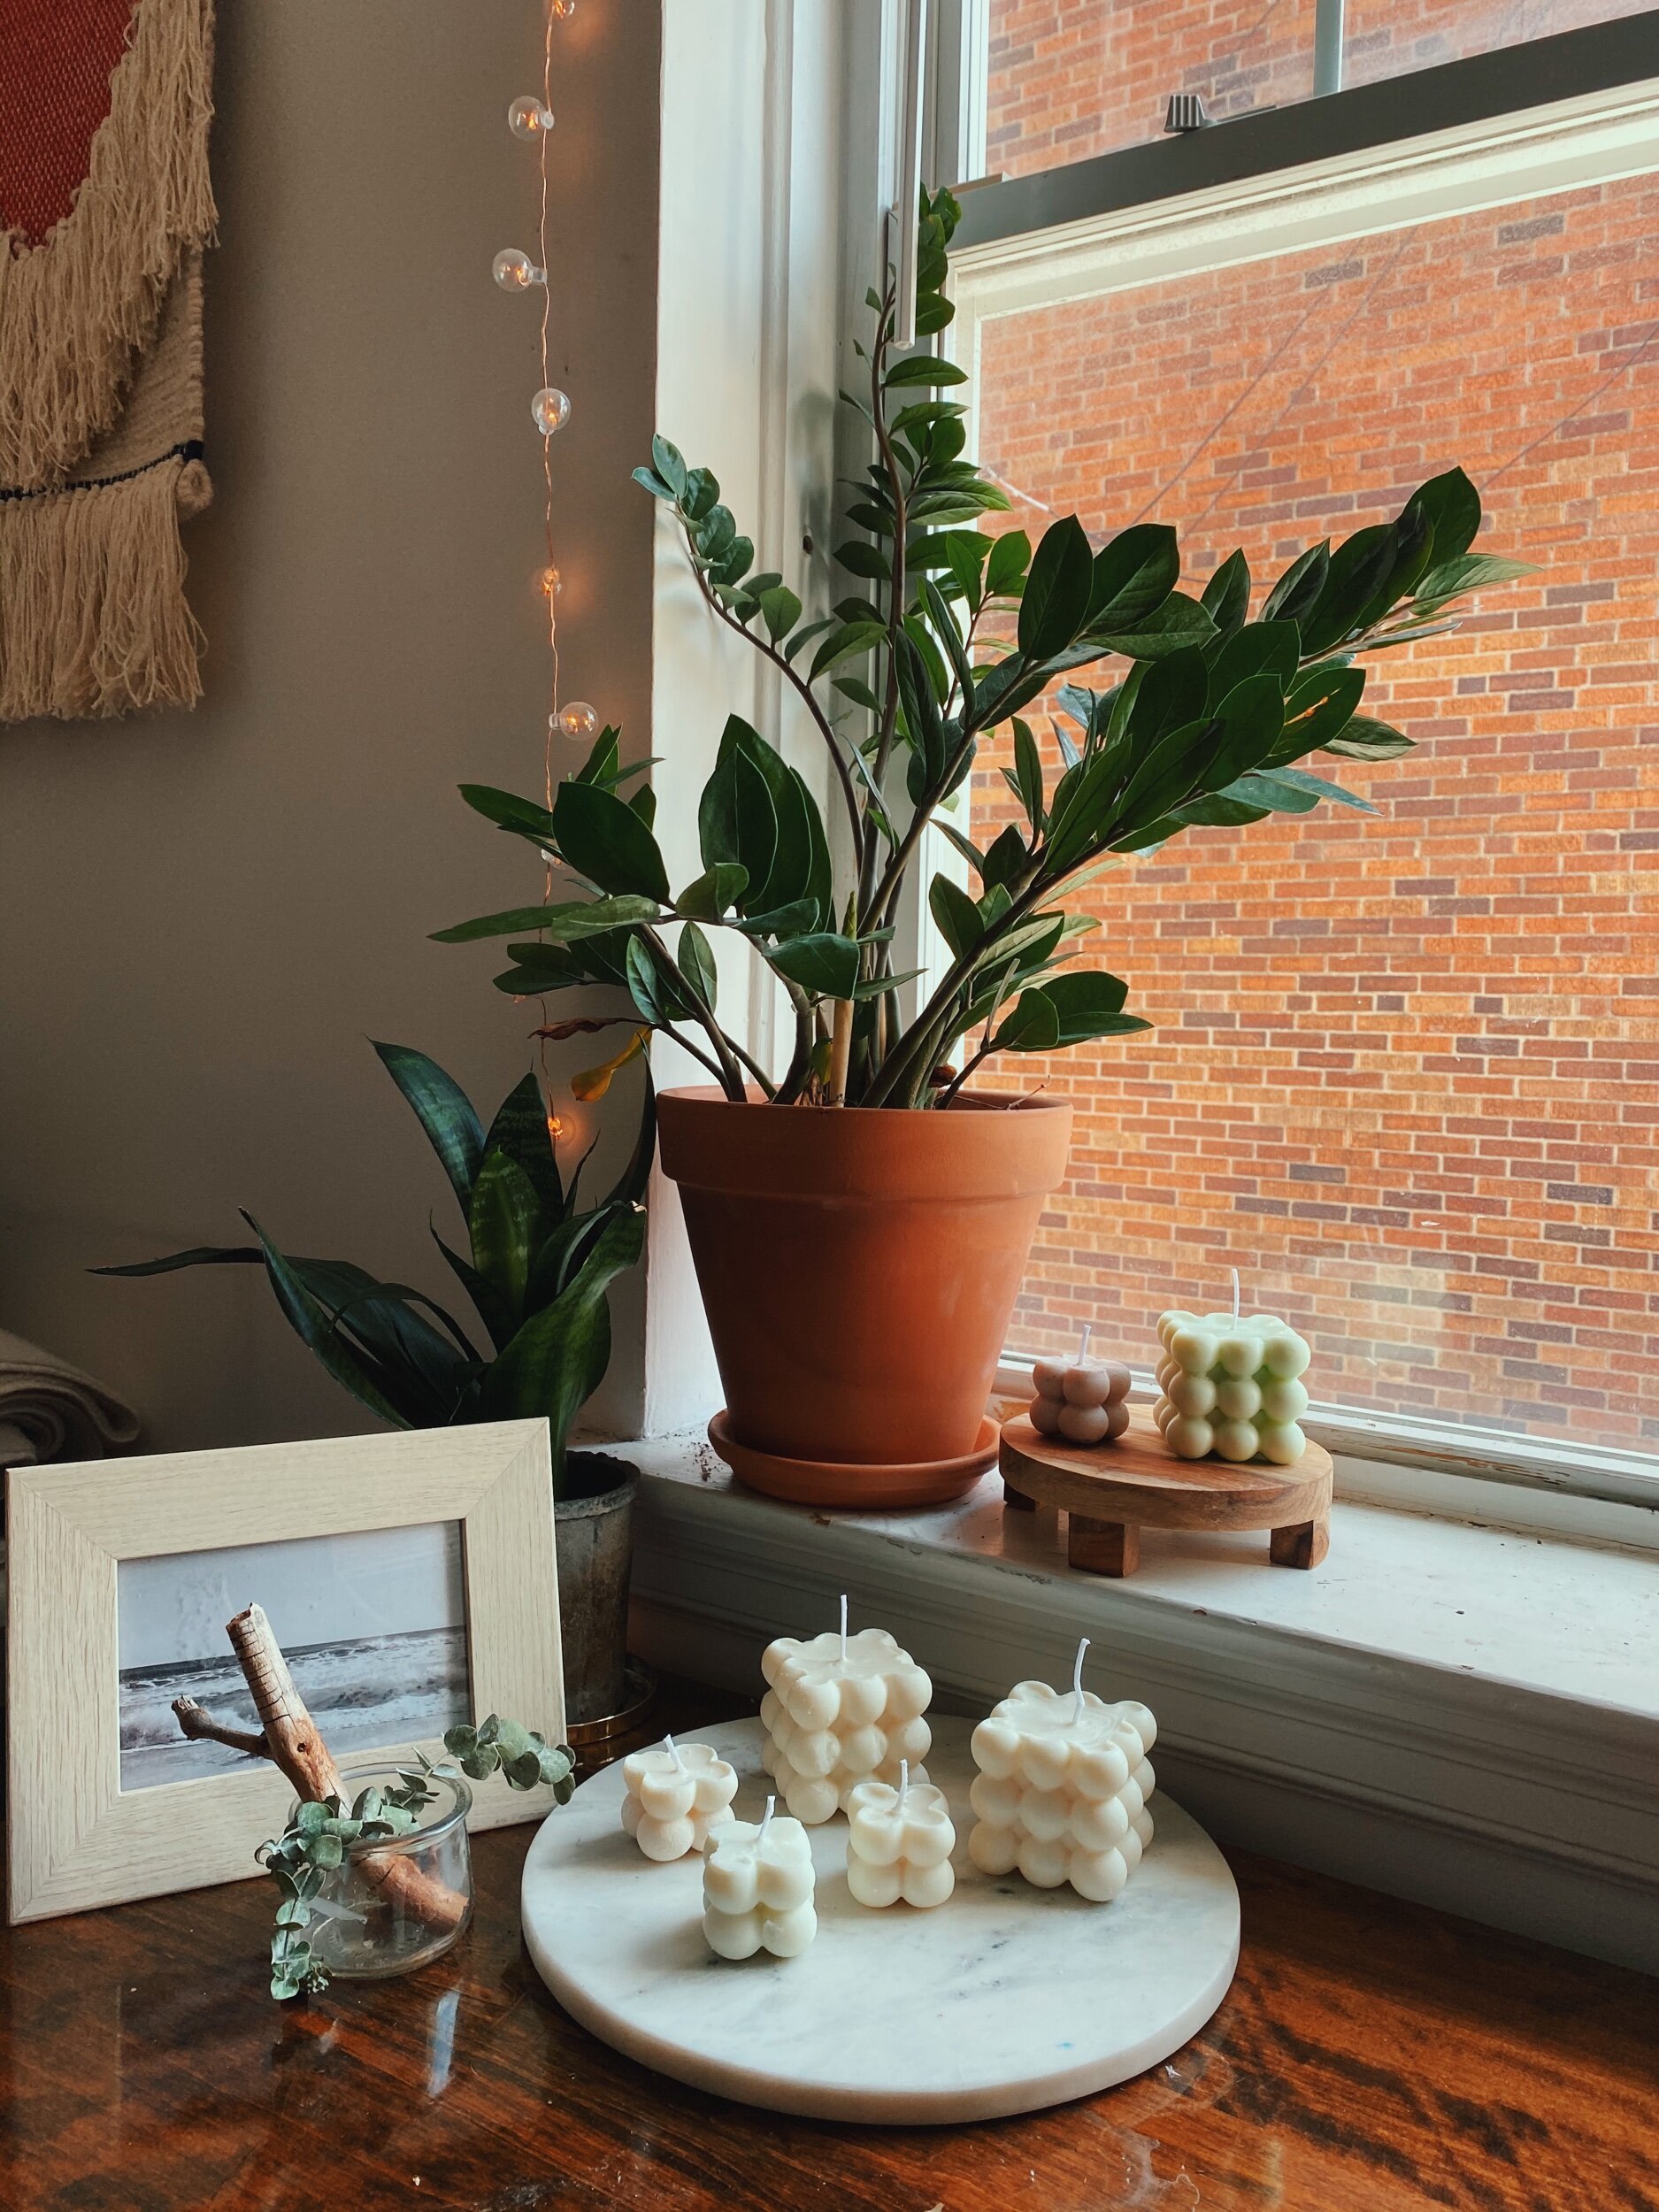
Once the candle has fully cooled and hardened, I placed the candle in the fridge to make the next step easier. When popping the candle out, the heat/pressure can cause some dents hence the extra step of chilling the candle down. Once you’ve popped that bad boy out, I like to display my candles on a piece of marble as a coffee table centerpiece or wrap them up for the cutest Christmas gift. Enjoy!

A little red + yellow for an orange candle

chillin by the drafty window- aesthetic but do not try this!

I’ve found that the best way to remove the candle is to essentially flip the mold inside out and shed the candle