
Quarantine Activities: Surgical Mask DIY
In this quarantine series, I have a ton of fun at-home self-isolated DIY activities that will hopefully make social distancing a little more productive/rewarding/aesthetic. All craft materials can be found online so no need to scour the store for these items (though I highly doubt they’ll be the top of most people’s quarantine grocery list). If you have one, grab your isolation buddy/roommate and let’s get crafty (:
Per CDC guidelines, a surgical mask should be used if you are showing symptoms of covid-19 to protect others around you BUT it will not protect you from contracting a respiratory illness. update 4/1/20: masks are now mandatory when social distancing is not possible! Studies have shown that surgical masks have some effectiveness at reducing the spray of droplets/transmission of the flu and should be used in conjunction with proper hand hygiene.
As a nation, there is a growing concern of PPE shortage that is necessary to protect healthcare workers from contracting covid-19. To address this, many hospitals have revised policy on the use/reuse of masks to conserve supply and prepare for the upcoming surge of patients. New CDC guidelines dictate all hospital employees to wear a mask to protect against the spreading of the virus., which will undoubtedly make a larger dent into the mask supply. In order to conserve PPE, workers are issued one mask per shift (unless soiled). The precaution is necessary to protect at-risk patients as healthcare workers are the ones who exit facilities and have contact with the world. Sometimes, a little creativity is necessary to make ends meet.
Today, I have an easy DIY that utilizes household items and can really make a difference. And not to worry- I picked materials under the advice of an epidemiologist/infectious disease doc from the Wellesley in Medicine network.
Though by no means do I claim that this DIY project is as effective as a regular surgical mask, it will at the very least provide some sort of barrier between your large droplets and the world. I’ve done my research to try to concoct your best bet for a homemade mask. If you have extra unused masks/PPE at home, please consider donating them to a hospital/healthcare provider. Some hospitals are also accepting home-sewn surgical masks - be sure to check their criteria.
Tips & Tricks
fabric
breathability (no fumes, tightness of weave, thickness of layers)
ability to absorb moisture
able to visibly see germs (avoid dark fabrics)
can withstand high heat for cleaning
pick a material that is tightly woven to reduce droplet transmission. data has shown that cotton t-shirts and pillowcases are the most effective materials.
wire
necessary to reduce the air that can exit the mask
if not attainable, try to create the tightest fit possible
ear loops
elastic is best but can use string - make sure it can also withstand the heat/cleaning
the thinner the rope, the most comfortable for fit around the ear. too thick of a strap will fall off
Supplies
fabric - scrap, old clothes, you name it
ear loops - elastic straps if you own a roll, string, or rubber bands
wire - jewelry making wire or paper clips (unfolded)

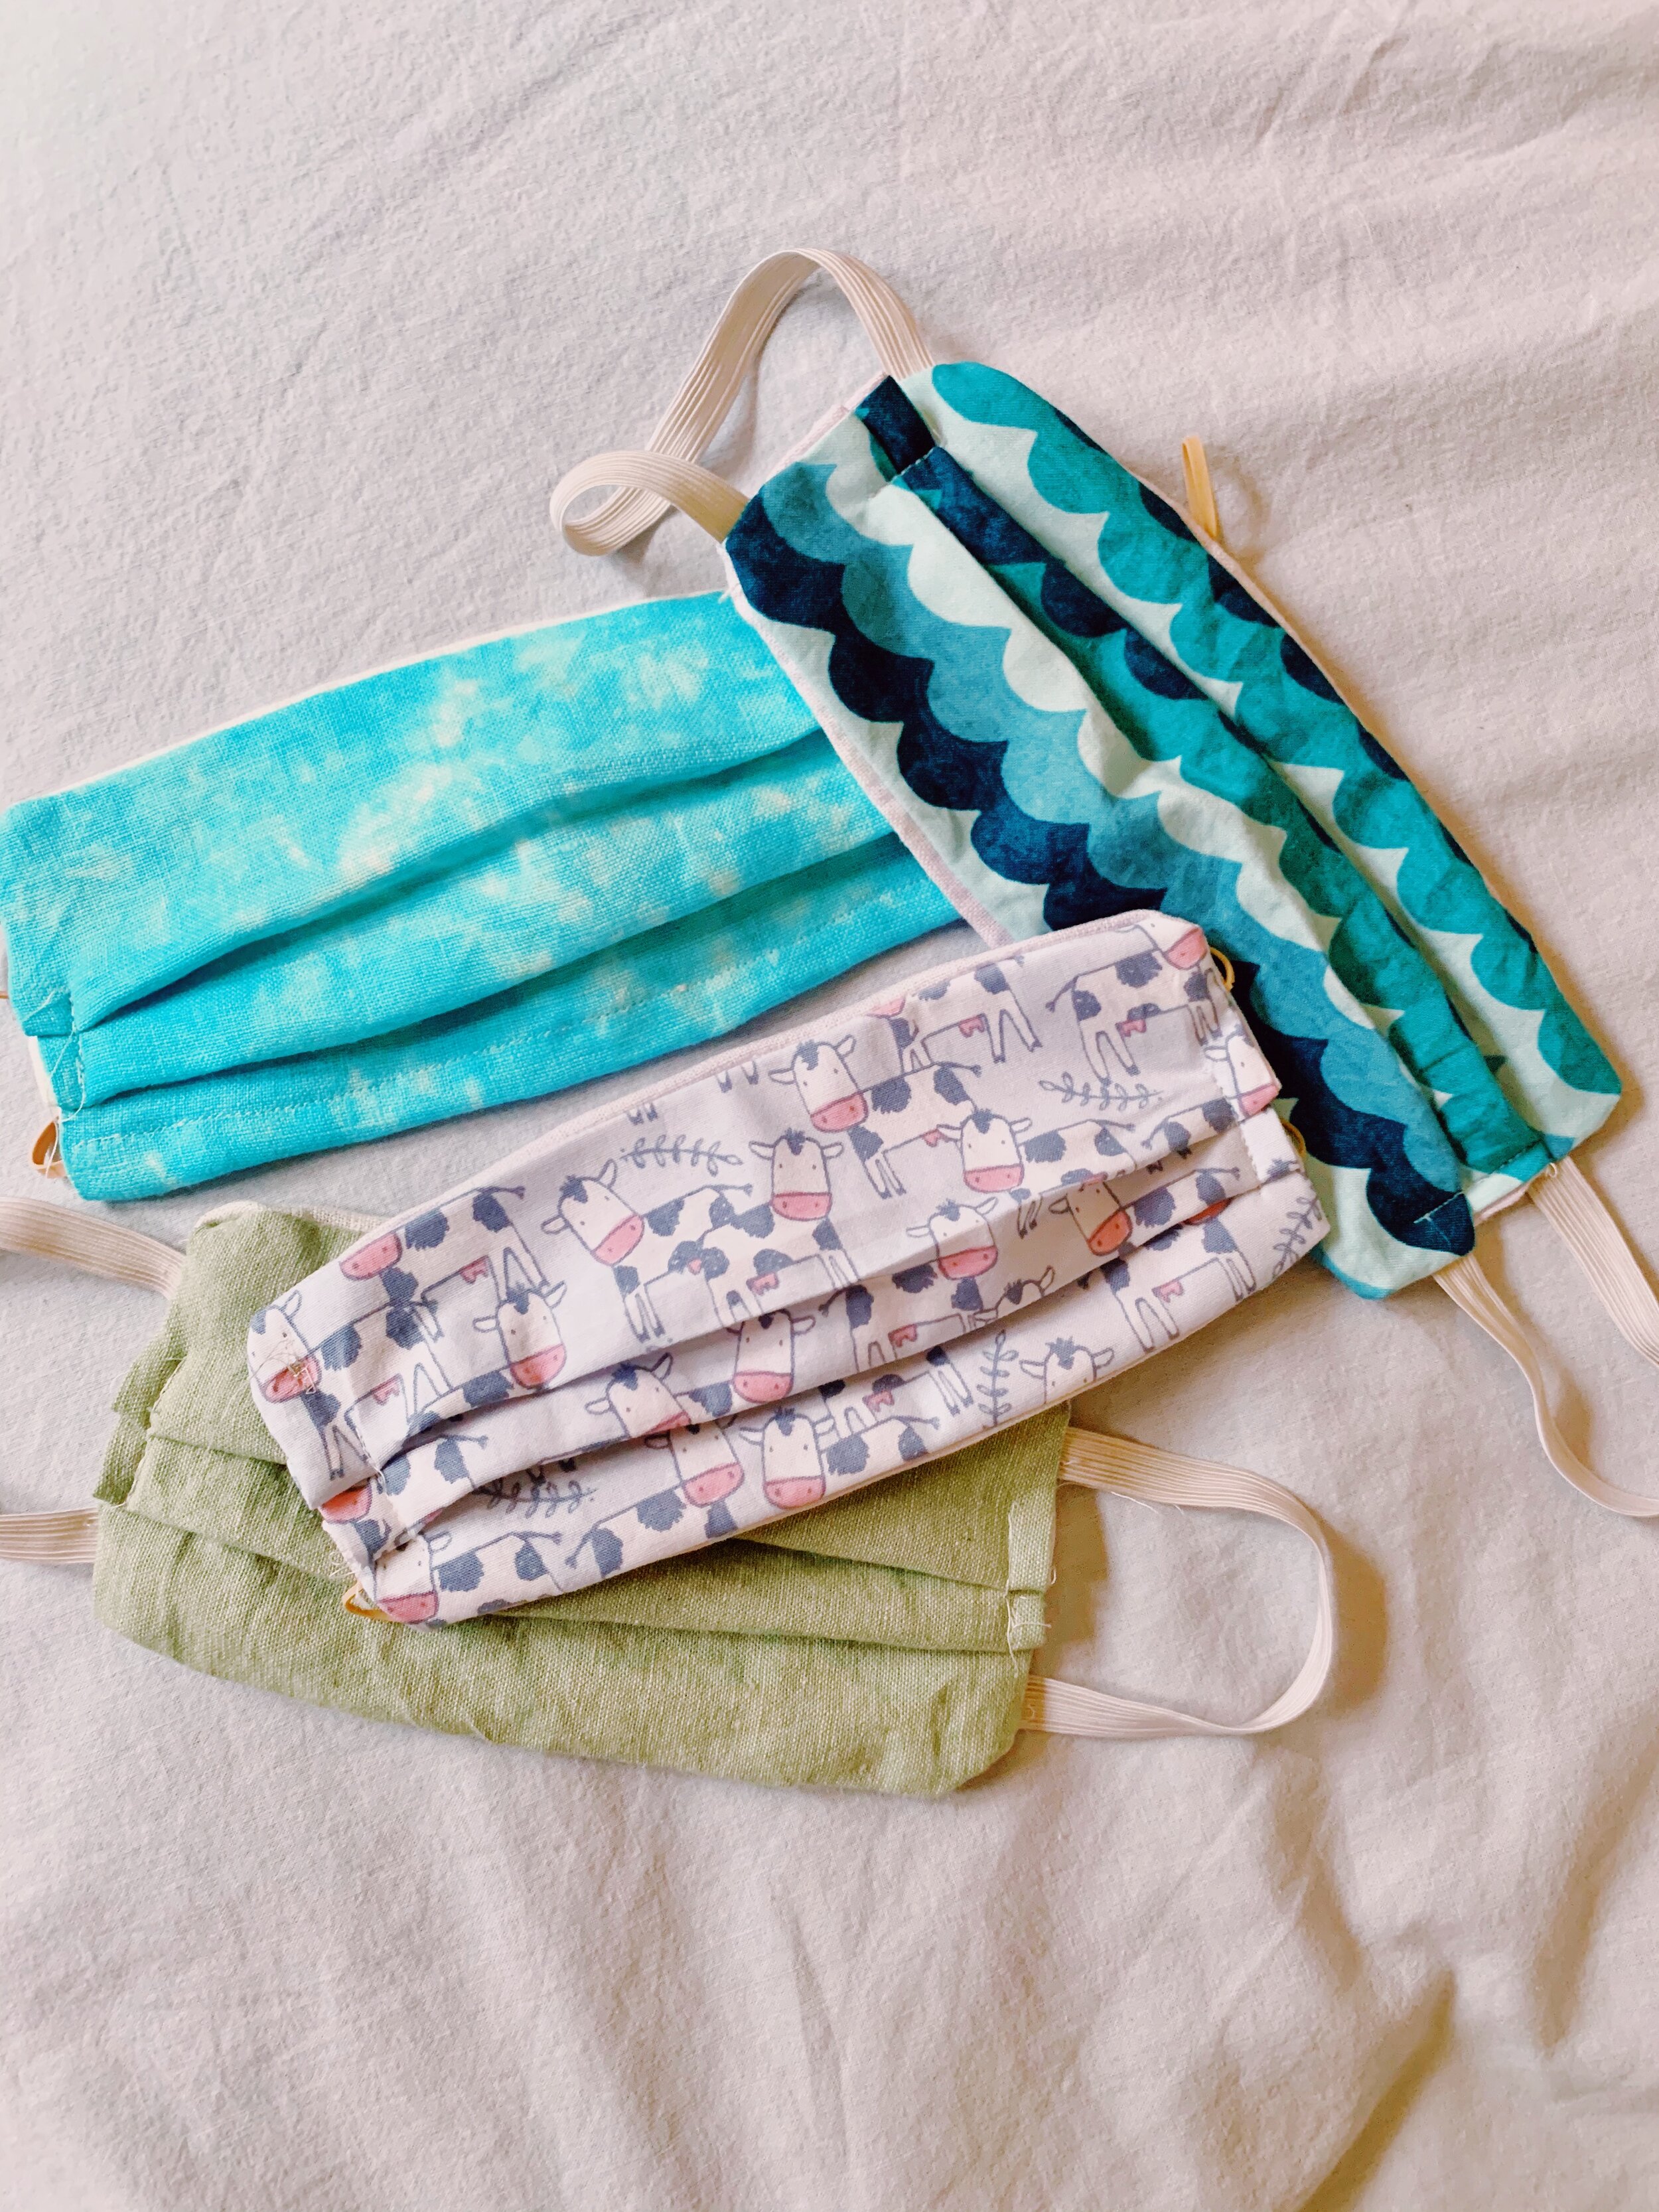
Surgical Mask DIY
research has shown that a double layer only increases effectiveness for certain materials. for dish towels, doubling the layers increased particle capture by 14%, but only 2% for cotton shirts. i still chose to double the layers because i felt that it increases durability during washing. the choice is yours! i cut my mask layers with the dimensions of 6x8 inches. you can modify these dimensions based on your face/fit. i cut the straps 6.5inches long, but if you’re using a rubber band, simply snip it to open up the length.
we’re going to be working inside out first - pin the earloops on the inside of the two layers
sew all sides of the rectangles together, reinforcing the earloops with zig-zag stitches, and leaving a small opening of ~2inches
flip the mask right-side out
fold down the top of the mask just enough for the metal wire to fit- sew it down and push the wire through it
create two pleats on the mask to help it form to your face and sew into place


